Enhance Your VueJS Development: 5 Valuable Tips for a Better Building Process
Discover top tips for improving VueJS development! Learn efficient coding practices, leverage Vue CLI's power, explore Vue.js documentation, and optimize VS Code with key extensions. Elevate your VueJS projects today!

In today’s post, we'll explore valuable tips to boost your web development journey and create more efficient Vue JS applications.
1. Opt for clear and understandable naming styles
Understanding the importance of readability, especially in collaborative projects, is crucial. Follow these best practices:
- Use PascalCase for Component Names:
- Correct:
NewComponent.vue - Incorrect:
newcomponent.vue,Newcomponent.vue
- Correct:
- Name Parent Components with Children Readably:
FooterSection.vueFooterSectionHeading.vueFooterSectionIcons.vueFooterSectionButton.vue
- Consider Prefixing Components without Children in the DOM Tree with "the":
TheNavbar.vue
Consistency is key to readability. Choose a convention and stick to it.
2. Make sure to validate props and data
Props in Vue let you transfer data from a parent component to its child, forming a tree-like structure for our application. When defining props in Vue, it's crucial to specify the data type explicitly.
props: {
  title: String,
  slug: Number,
  isDraft: Boolean,
  author: Object,
  callback: Function
}
vue props example
This example is from the Vue documentation. You can explore methods to create custom validation by referring to the documentation.
3. Avoid manipulating the DOM directly
For those familiar with CSS, HTML, and JS, building Vue apps while directly manipulating the DOM may seem straightforward. However, it's crucial to understand that Vue utilizes the virtual DOM—a streamlined version of the DOM that enhances efficiency by optimizing compilation and minimizing full DOM re-renders with each change. This approach significantly improves efficiency and resource management since it reduces the frequency of DOM API calls. Consequently, performing direct DOM manipulation within your Vue components is unnecessary.
It is important to note that there is a draft going on right now to introduce Vue's Vapor Mode - a way in Vue to not use a VDOM and write directly to the DOM.
<input type="checkbox" @change="onUpdateUserPreference" />
example Vue's input
This input is used to update the user preferences when something changes.
methods: {
  onUpdateUserPreference() {
    const shouldUpdatePreferences = document.getElementById('thecheckbox').checked;
    if( shouldUpdatePreferences ) {
      console.log('Should update preferences');
    }
  }
}
method showing when a user preference should be updated or not by fetching directly from the DOM
The getElement call you see involves a DOM API call, which can be optimized for efficiency by adopting a different approach.
data() {
  return {
    shouldUpdateUserPreferences = false
  }
},
methods: {
  onUpdateUserPreference() {
    if(this.shouldUpdateUserPreferences) {
      console.log('Light is on');
    }

    this.shouldUpdateUserPreferences = !this.shouldUpdateUserPreferences;
  }
}
method showing when a user preference should be updated but this time using "data" attribute from Vue
This accomplishes the same outcome, allowing you to toggle the state without directly accessing the DOM API. Whenever you perform tasks with pure JS, there's often a more efficient method available in the virtual DOM. If you encounter difficulties, consider exploring Vue Refs for solutions.
4. Utilize computed properties
Computed properties are a crucial tool in Vue.js. They represent calculations used to define a value or property that depends on another value or property. Vue.js leverages computed properties to efficiently manage data changes and update the DOM as needed. One practical example is filtering through a list or array. Consider a scenario with hundreds of cars listed along with their manufacturers' countries. If you want to identify which cars are French, computed properties can streamline this process.
<div v-for=’car in cars’ v-if=’car.country == "France"' >
looping over cars array and finding which ones are french
When looping through a list using v-for, some opt for using v-if for conditions or filtering, as shown above. While this approach seems intuitive, Vue's compiler prioritizes v-for over v-if. Consequently, the desired outcome may not be achieved, and the list (imagine it contains 1 million items) would be iterated through each time, resulting in inefficiency. To address this issue, computed properties can be employed to ensure optimal performance.
<div v-for='car in countryFilter'>

//....

computed: {
  countryFilter: () => {
    return this.cars.filter(function (car) {
      return car.country == "France"
    })
  }
}
block of code explaining how to use computed property in Vue
This approach streamlines the filtering process, enhancing loop efficiency. With computed properties, the filtering is handled automatically, and the property is checked once, with subsequent checks only if there are dependency changes. Moreover, separating logic from the template section promotes cleaner, more readable code.
5. Use Vue GUI
Here's something intriguing: Vue CLI actually includes a GUI tool that you might not be aware of. Simply open your terminal and enter the following command:
vue uibash command to spawn vue ui interface
If you already have Vue JS installed globally on your machine, running this command should automatically open your default browser at localhost:8000.
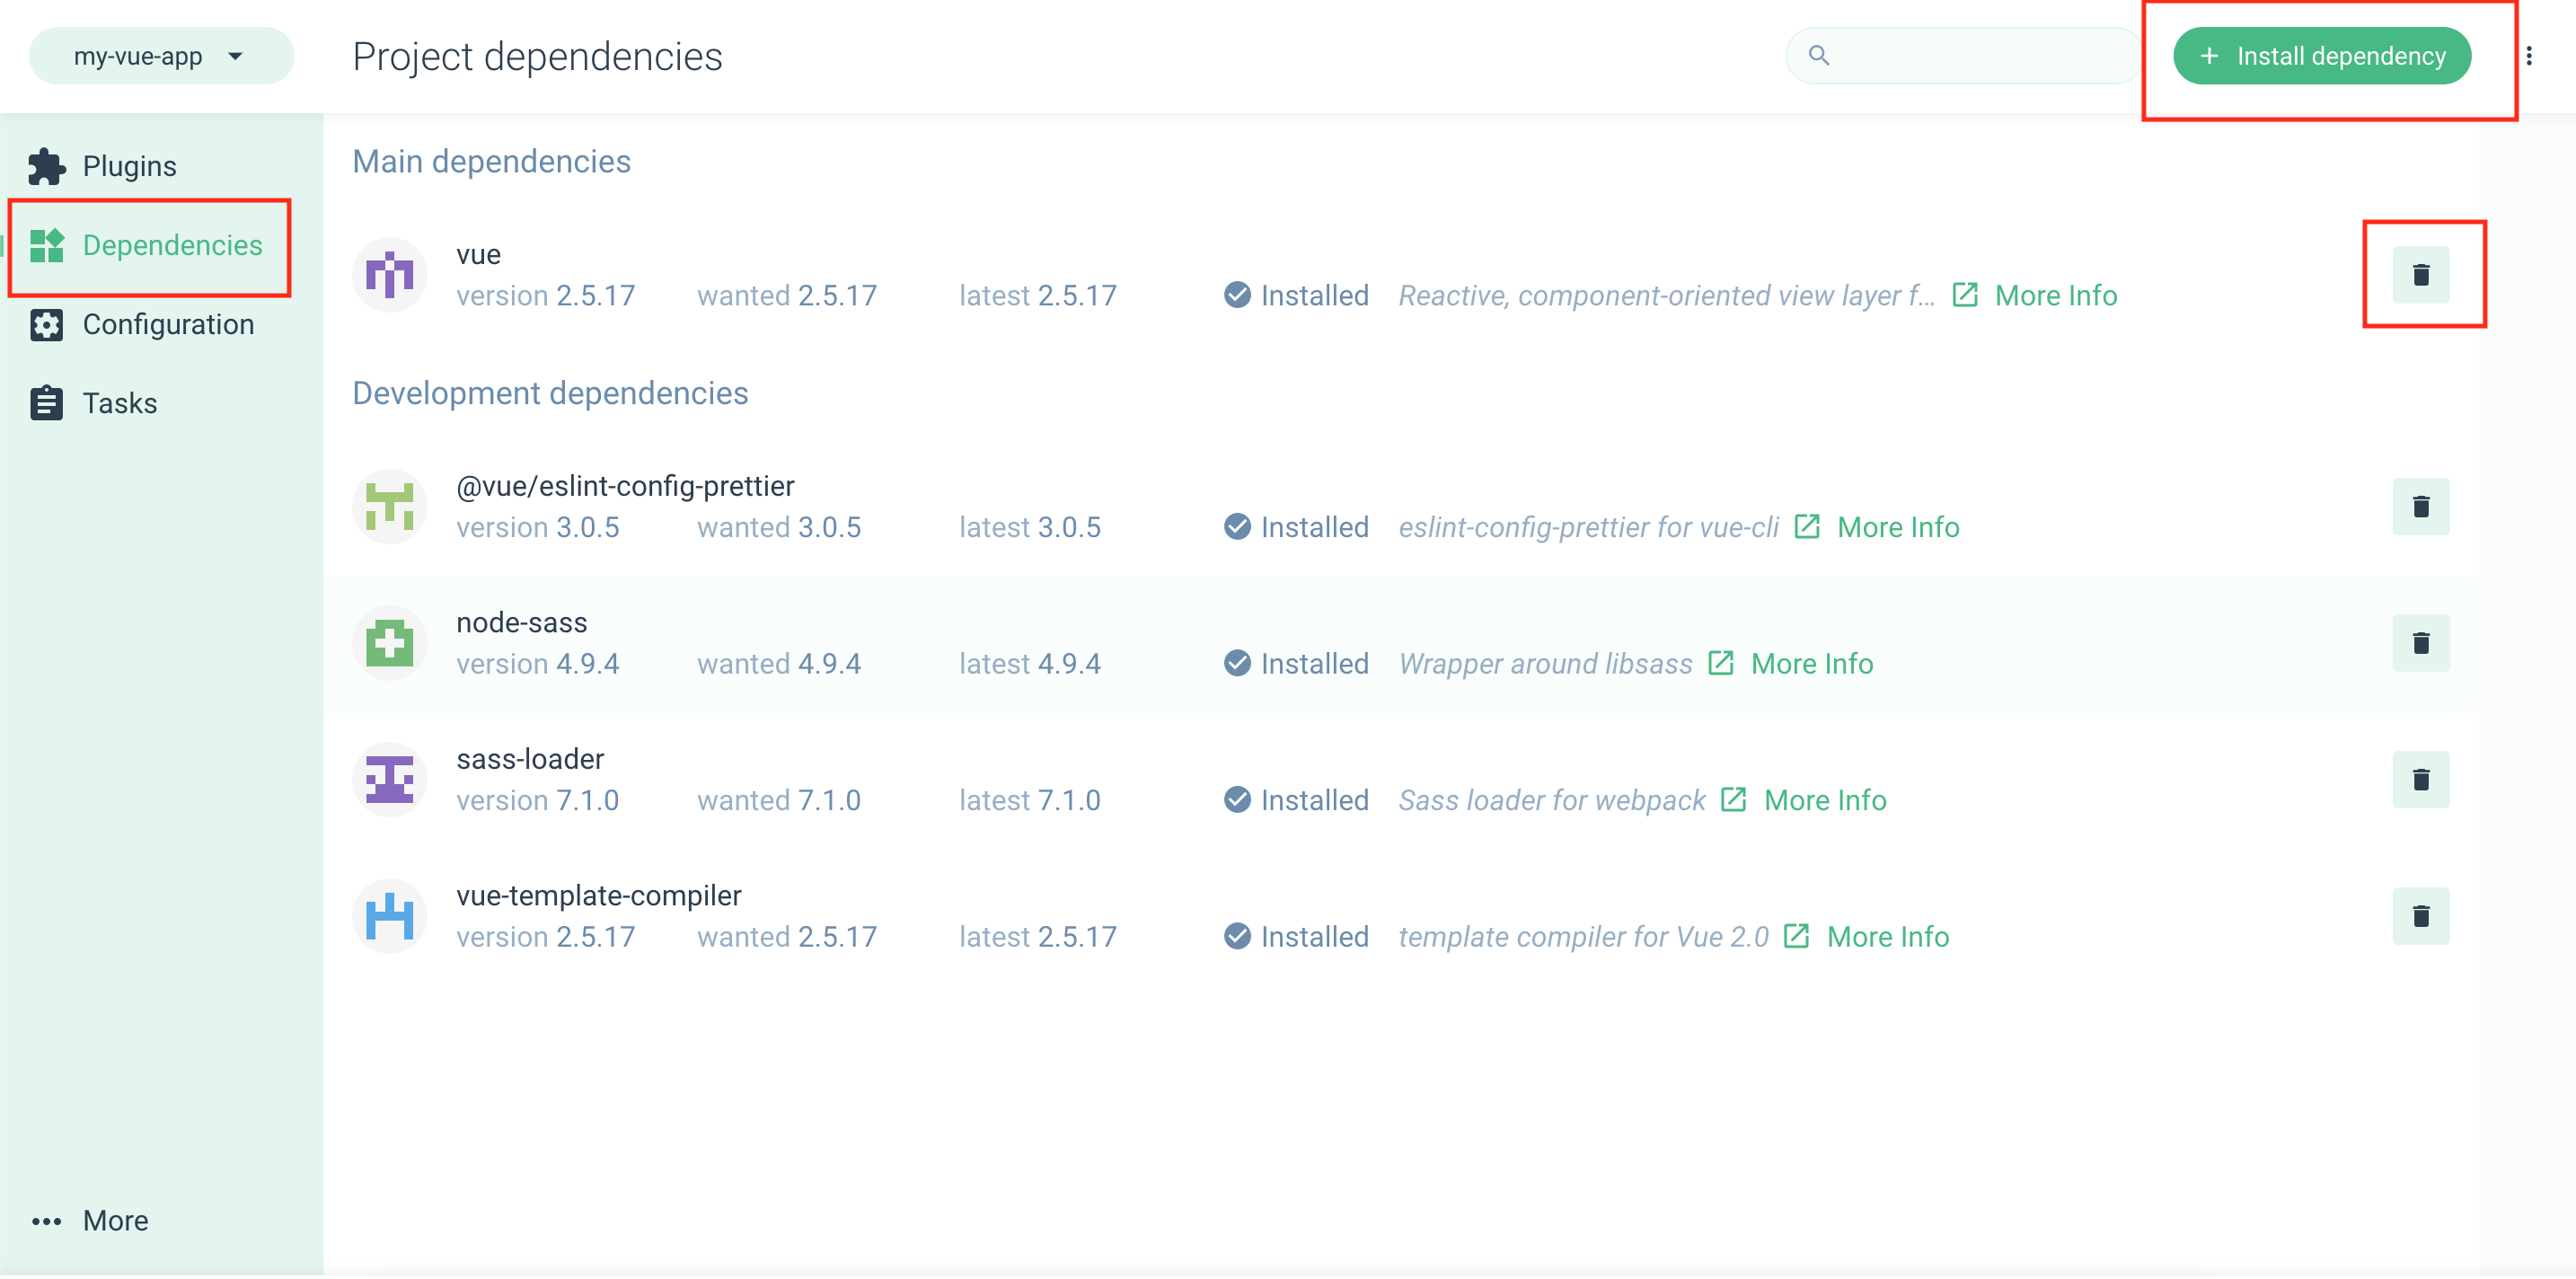
Throughout the process, you'll encounter all the same prompts as you would with the CLI for creating a new Vue project. By clicking on 'Plugins', you'll discover a Vue plugin marketplace showcasing existing plugins and suggestions tailored to your project. Installing a plugin is as simple as a single click.
You have the flexibility to incorporate dependencies and configurations such as the ESlint config and others. Plus, you can serve your app in the development server, test it, or even build it out for production. Vue CLI is an incredibly robust tool, especially for beginners. Be sure to explore it yourself!
6. Bonus Tip: Explore the Documentation
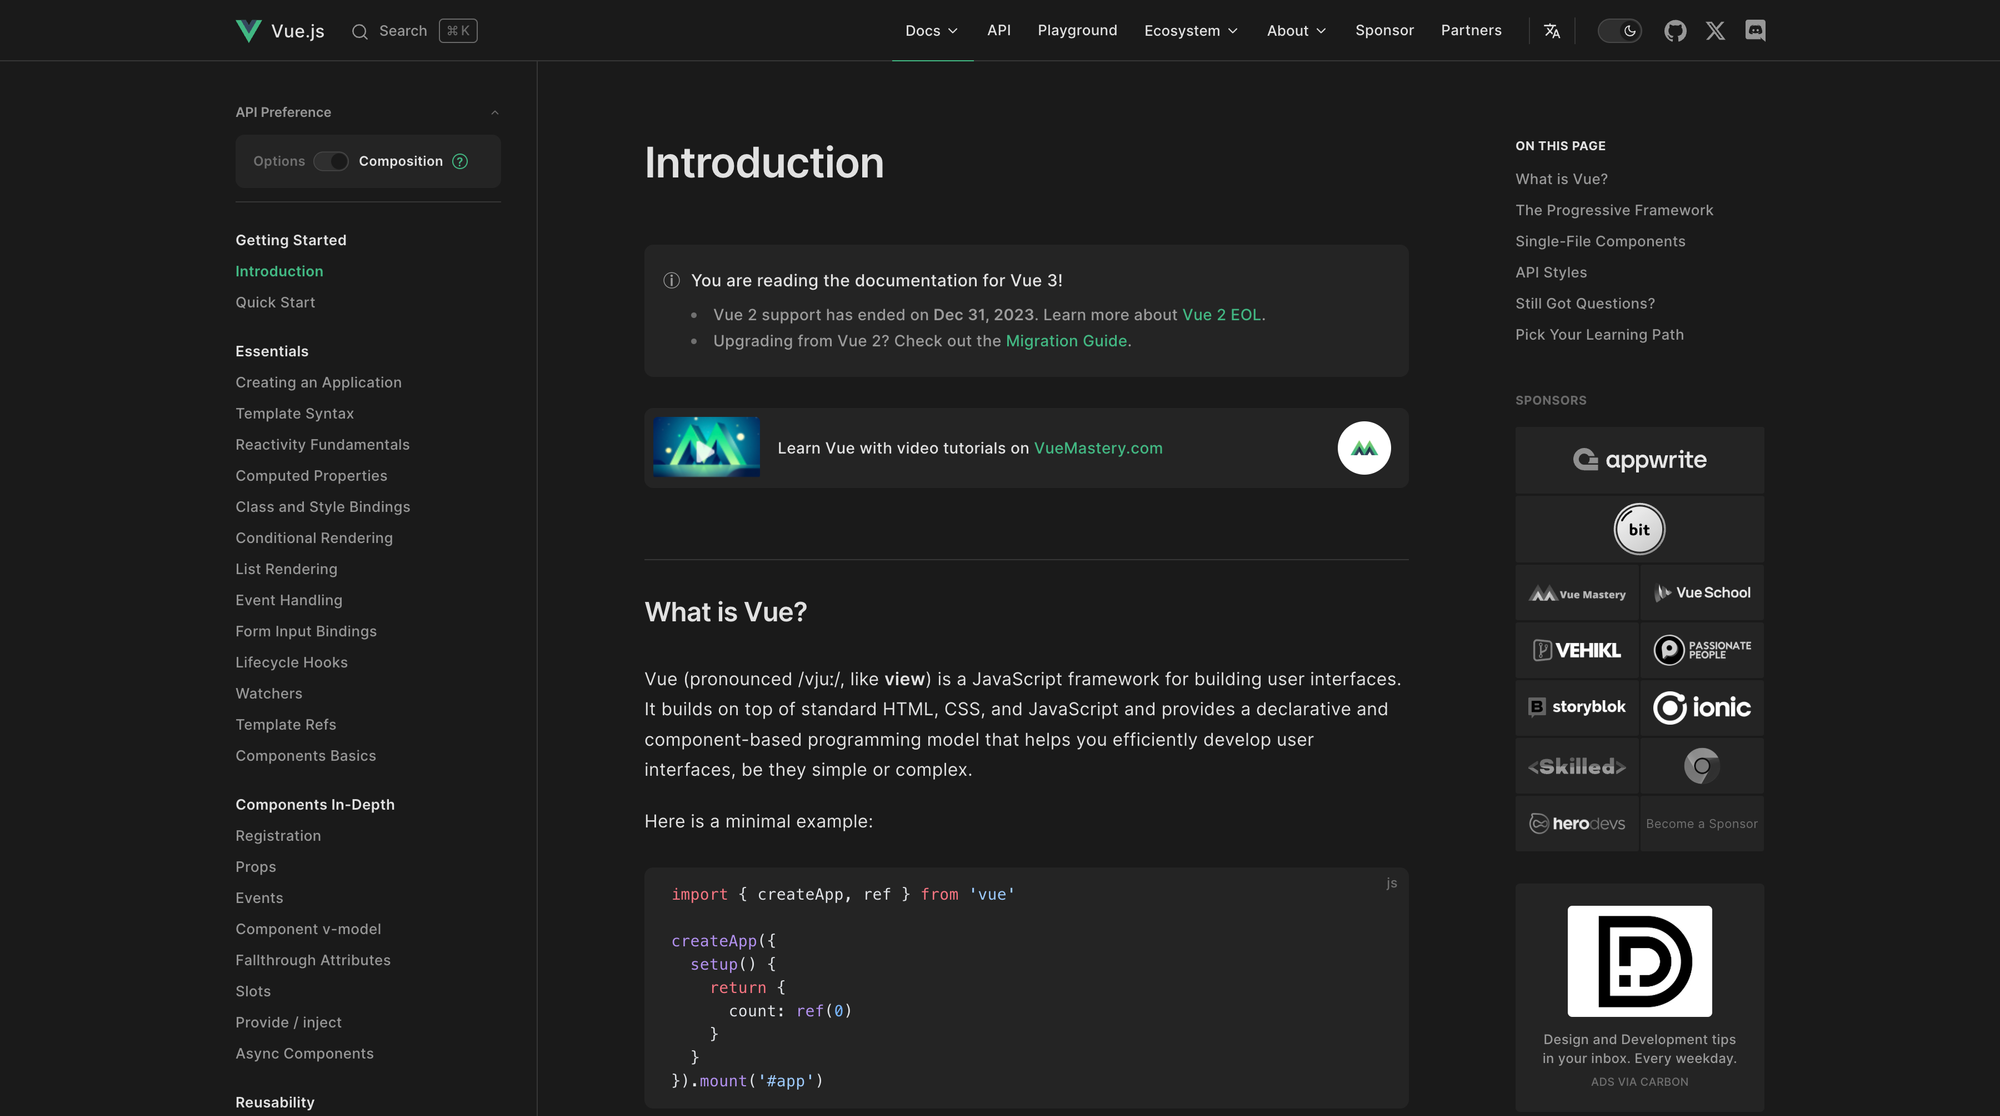
The Vue.js documentation stands out as one of the premier resources for learning all about Vue. The team has done an exceptional job ensuring it's easy to understand, experiment with, and integrate into your workflow. Don't miss the extensive style guide within the Vue Docs—it's definitely worth exploring.
Conclusion
Here are some Vue.js tips to help you build faster and write cleaner, more efficient code. As a bonus, consider using VS Code along with extensions like Prettier, Vetur, and Vue VS Code snippets to enhance your workflow with speed, auto-complete, and auto-correction features.
Which of these tools are you already using?
Devqaly: A Cut Above the Rest
Now, let's explore why Devqaly stands out as a superior session recording tool compared to its competitors.
- Record Database Transactions:
Devqaly's backend integration allows developers to see not just the frontend interactions but also the associated database transactions. This feature is invaluable in spotting issues such as N+1 problems, providing a interconnected view of the application's performance. - Real Video Recording:
While other session recording tools may simulate video-like implementations, Devqaly takes it a step further by recording real video. This means developers can gain context not only within the application but also outside of it, offering a more refined understanding of user interactions. - Create Custom Events:
Devqaly empowers developers by allowing them to create custom events. This flexibility ensures that developers can tailor session recording to their specific needs, enhancing the tool's adaptability to diverse debugging scenarios. - Open Source Advantage:
Devqaly's open-source nature gives developers the freedom to host their own instances in their infrastructure. This not only provides greater control over the tool's deployment but also ensures compliance with internal security policies. - Own Your Data:
Security and data ownership are important concerns. Devqaly addresses this by allowing users to own 100% of their data. Hosting your own instance means that no data ever reaches Devqaly's servers, providing a robust solution for organisations with stringent data privacy requirements.